How to Get Started with Laser Cutting: A Step-by-Step Guide for Beginners
Are you fascinated by the intricate designs, personalized gifts, and precise craftsmanship you see popping up everywhere? Chances are, you’ve witnessed the magic of a laser cutter or laser engraver in action! Whether you’re an aspiring crafter, a small business owner looking to expand, or just curious about this incredible technology, diving into the world of laser cutting can seem daunting at first.
But fear not! This comprehensive beginner’s guide to laser cutting is designed to demystify the process and provide you with a clear, step-by-step roadmap to get started. By the end of this article, you’ll have a solid understanding of what it takes to transform your ideas into tangible creations, and you’ll know exactly where to find amazing laser cutting projects to kickstart your journey.
Why Laser Cutting? The Endless Possibilities
Before we dive into the “how,” let’s talk about the “why.” Laser cutting machines offer unparalleled precision, speed, and versatility. You can work with a wide array of materials for laser cutting, including:
- Wood (plywood, MDF, balsa): Perfect for signs, décor, and intricate models.
- Acrylic: Ideal for vibrant displays, jewelry, and transparent components.
- Leather: Great for custom wallets, keychains, and fashion accessories.
- Cardboard/Paper: Excellent for prototypes, stencils, and intricate paper art.
- Fabric: Opens up possibilities for custom apparel and patches.
- …and many more!
From creating custom gifts and personalized home decor to producing prototypes for your business or simply enjoying a rewarding hobby, the potential of a desktop laser cutter is truly limitless.
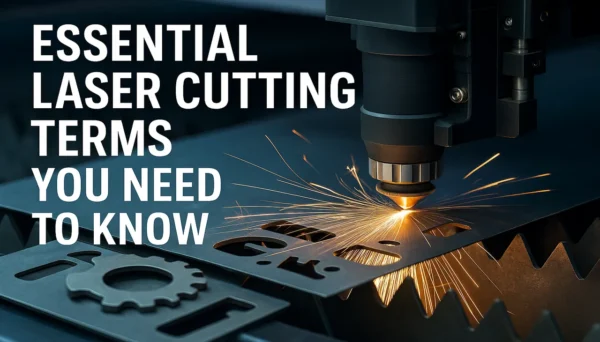
Step 1: Understanding the Basics – What is a Laser Cutter?
At its core, a laser cutter uses a highly focused laser beam to either cut through or engrave designs onto various materials. Think of it like a super-precise, computer-controlled scalpel or pen.
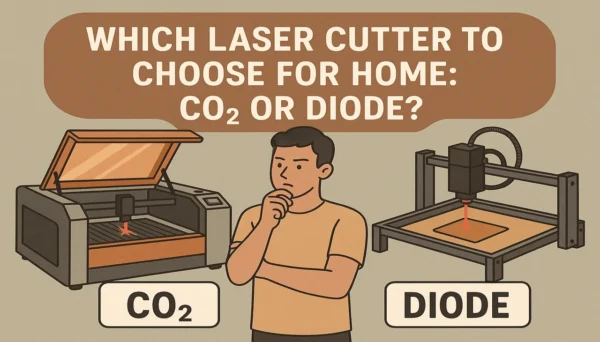
There are two main types of laser machines you’ll likely encounter:
- CO2 Laser Cutters: These are the most common type for hobbyists and small businesses. They are excellent for cutting and engraving organic materials like wood, acrylic, leather, and fabric.
- Diode Lasers: Generally more affordable and compact, diode lasers are great for engraving and light cutting on thinner materials like wood, paper, and some acrylics. They are a popular choice for beginners laser cutting.
For a deeper dive into choosing the right machine, check out our guide on selecting a laser machine.
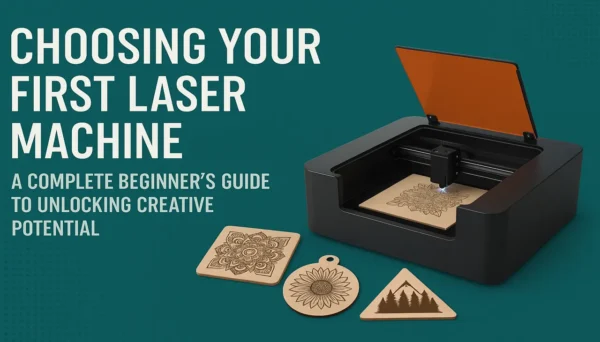
Step 2: Choosing Your First Laser Machine (or Accessing One!)
This is often the biggest hurdle, but it doesn’t have to be. Your options include:
- Buying Your Own: For serious hobbyists or small businesses, investing in your own affordable laser cutter might be the way to go. Research models like Glowforge alternatives, Ortur laser engraver, or other popular home laser cutters. Consider factors like laser power (watts), bed size, and software compatibility.
- Maker Spaces/Fab Labs: Many cities have community workshops where you can pay a membership or hourly fee to use professional-grade laser cutters. This is an excellent way to try laser cutting before investing.
- Online Services: If you just need a few items cut, consider services that cut and ship your designs.
Key consideration: Don’t get bogged down in overwhelming technical specs initially. Focus on what you want to create and find a machine that fits your budget and space.
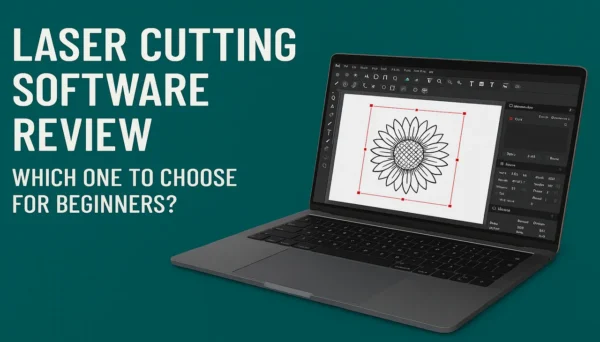
Step 3: Mastering Your Design Software
A laser machine is only as good as the file you feed it! You’ll need design software to create or modify your laser cutting files. Popular options include:
- LightBurn: A powerful and widely used software specifically designed for laser machines. It’s often recommended for its intuitive interface and robust features for both cutting and engraving.
- CorelDRAW / Adobe Illustrator: Professional vector graphic design software. If you’re already familiar with these, you can design directly here and export for your laser.
- Inkscape: A free, open-source alternative to Illustrator, great for SVG file creation for laser cutting.
- Fusion 360 / AutoCAD: For more complex 3D designs that you might then convert to 2D for cutting.
Pro Tip: Start with simple shapes and text. As you get comfortable, you can move on to more intricate designs. Don’t want to design from scratch? That’s perfectly fine! Many people start with pre-made laser ready designs.
Step 4: Getting Your Material Ready
Once you have your design and your machine, it’s time for the material!
- Choose the Right Material: Refer back to our section on materials and their processing to select the best option for your project.
- Prepare Your Material: Ensure it’s flat, clean, and securely placed on the laser bed. Use honeycomb beds or specialized jigs if needed to elevate the material and allow for proper air circulation.
- Ventilation is Crucial! Laser cutting generates fumes. Always ensure proper ventilation with an exhaust fan or air filter system to safely remove smoke and harmful particles. Never operate a laser cutter without adequate ventilation.
Step 5: Setting Laser Parameters and Making Your First Cut!
This is where the magic happens! In your laser software (e.g., LightBurn), you’ll set parameters like:
- Power (Watts): How intense the laser beam is. Higher power for cutting thicker materials.
- Speed (mm/s or in/s): How fast the laser head moves. Slower speeds for deeper cuts or darker engraves.
- Passes: How many times the laser goes over the same path. More passes for thicker materials or deeper engraves.
- Focus: Ensuring the laser beam is perfectly focused on the material surface for the sharpest cut or engrave.
Starting point: Most laser machines and materials have recommended settings. Use these as a baseline and perform small test cuts on scrap material to dial in your perfect settings. This is often called a “material test matrix.”
Safety First: Always wear appropriate laser safety glasses to protect your eyes. Never leave your laser machine unattended while it’s operating. Be aware of fire hazards and have a fire extinguisher nearby.
Step 6: Post-Processing (Optional but Recommended)
After the laser finishes its work, some projects might benefit from post-processing:
- Cleaning: Removing smoke residue (often called “scorching” or “burn marks”) with alcohol, soap and water, or specialized cleaners.
- Sanding: Smoothing edges, especially on wood.
- Painting/Staining: Adding color or finish.
- Assembly: Putting together multi-part designs.
Ready to Create? Start with Amazing Projects!
Now that you understand the basics, you’re probably eager to start cutting! The fastest way to jump into creating stunning items is by using pre-designed laser cutting files. This saves you time on design and lets you focus on learning your machine and materials.
We offer a vast collection of high-quality laser cutting projects perfect for beginners and experienced users alike. From elegant home decor to fun educational toys and practical storage solutions, our laser-ready designs come with clear instructions, making your first few projects a breeze.
Browse our extensive collection of laser cutting files today and find your next creation: https://laserfilesfreedom.com/product-category/all/
Getting started with laser cutting is an exciting journey. Don’t be afraid to experiment, learn from your mistakes, and most importantly, have fun! With patience and practice, you’ll be creating incredible, personalized items in no time.
Happy laser cutting!